This tutorial provides a walk-through showing how to add a new orchard to Truffle Grower. Topics covered include:
-
- Creating the new orchard and define its location
- Define the tree rows
- Place, position and describe the trees
- Use of tree templates
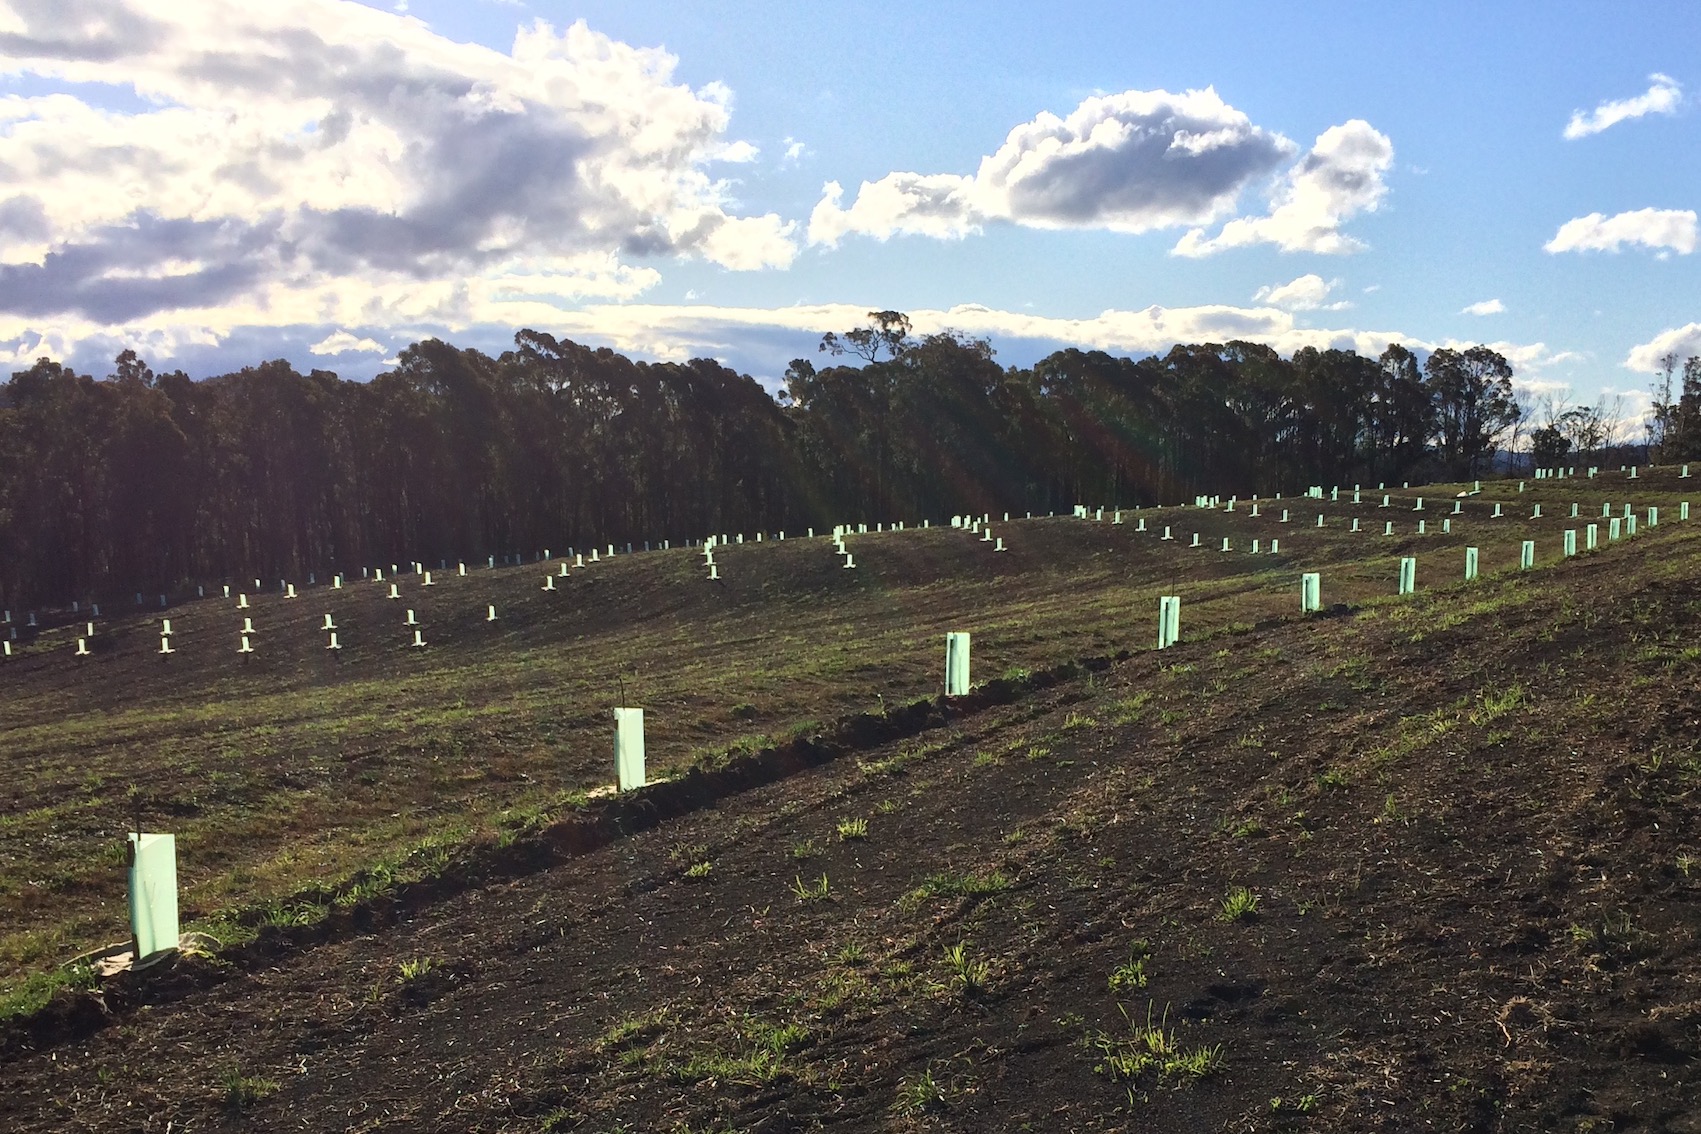
In this example we will use an existing truffle orchard to demonstrate the steps to define an orchard in the Truffle Grower App.
The orchard covers 6ha area and is made up of 1,954 trees. Tree species planted are predominantly Hazel (C. avellana) and English Oaks (Q. rober), with a few Holly Oak (Q. ilex) trees included. Most trees have been inoculated with Tuber melanosporum, however about 20 oak trees were inoculated with Tuber magnatum.
Create the new orchard record
To create a new orchard in Truffle Grower we must add a record for the orchard, define its location and boundary, and optionally add a map overlay image to provide more detail than the base Google Maps imagery.
Add a new record for the orchard
From the Truffle Grower navigation panel:
-
- Add a new component by pressing the “+” button
- Enter in a Name for the orchard
- Check that the Type field is “Truffle Block”

Define the orchard location
To specify the location and bounds for the orchard:
-
- Select the “Geographic location & bounds” row of the orchard properties
- Navigate the map to the orchard’s location
- Touch and hold your finger on the map to place a marker at the north-west corner of the orchard
- Drag the bottom marker to adjust the size of the square, ensuring that the entire orchard is enclosed
- Save the changes by pressing “Done” and “Save”

After placing the bounding rectangle, its position can be adjusted by dragging the top-left marker. Pressing on the map will also adjust the location of the top-left marker.
The size of the bounding rectangle can be adjusted by dragging the bottom marker.
Note: The bounding rectangle must be larger than the orchard location, as it will be used to define the area in which trees can be added.
OPTIONAL STEP: Add an orchard overlay
As an optional step, it is possible to add an overlay image to the orchard that will be shown over the base map imagery. You might choose to do this if the base map does not provide enough resolution at your site for individual trees to be distinguished. In the example, the Google Maps resolution at our location is not high definition, and the imagery is a few years old. Since we have a more recent map generated by flying a drone over the site, we will use the drone imagery as an overlay:
-
- Save a copy of the image you want to use as the overlay to your device
- Select the “Orchard overlay” row of the orchard properties
- Select “Choose from library” to pick the image
- Select the overlay image you want to use

Whenever the overlay image is changed, the boundaries of the orchard will need to be updated to ensure the image lines up with the underlying Google Maps imagery. Do this by modifying the “Geographic location and bounds” as described above. This time, instead of showing the bounds with an orange square, Truffle Grower will use the overlay image to define the boundary.
Note: if the overlay image selected takes up too much memory when loaded into Truffle Grower, the operation to select an image will fail and you will be asked to use a smaller image. In this case, modify the image and try again.
Define the tree rows
Before we can begin adding our orchard trees, we need to define the list of rows trees can belong to. By default, Truffle Grower begins with three rows defined, numbered 1-3. We will need to edit this list to suit our orchard. From the Truffle Grower navigation panel:
-
- Select our orchard from the Truffle Block list
- Press ‘edit’ to move to the ‘Add Trees’ view
- Press the action button, and pick ‘Manage rows’

Modify the list of tree rows to conform to the naming convention you use in your orchard. In our orchard trees will be placed in one of the rows numbered: A01-A15, B01-B11, C01-C20, W01-W04
-
- Delete the three default rows, numbered “1” to “3”
- Add the rows used by the orchard. In this example, row names are “A01” to “A15”, etc
- Press “Done” and “Save”
Place, position and describe the trees
With the rows defined, we can add our trees. Trees are added by pressing on the map to place a marker, moving the marker into position, and editing the properties of the new tree. To speed up this process we will mark the first tree we add as a “template”. That tree’s properties will then be used as the default values for subsequently added trees.
The steps to place, position, and describe the trees are:
-
- Create the first tree of the first row
- Edit the tree’s properties
- Set that tree as a template when adding trees
- Add the remaining trees for the row
- Modify any trees that do not conform to the template
- Move to the next row and repeat
Create the first tree of the first row
To begin adding trees, from the Truffle Grower navigation panel:
-
- Select the orchard from the Truffle Block list
- Press ‘edit’ to move to the ‘Add Trees’ view
- Zoom into the map, and scroll to the position of the first tree
- Press and hold on the map to place a marker for the tree
- Move the marker into the correct position by dragging it

Edit the tree’s properties
To begin adding trees, from the “Add Trees” view:
-
- Zoom into the tree’s location
- Tap on the tree’s marker to see an info-window
- Select the details button on the info-window
- Review the tree’s properties

Since we will use this first tree as a template for the rest of the trees in the row, we will set its properties to match the most common values in the orchard. Later, we can come back and modify the trees that do not conform to the most common type.
The following property values should be set:
| Name | Tree names need to be unique within the orchard. For this example, we will use a name that includes the row and a 4 digit number. This first tree in row “A01” will be called:
A01.0001 |
| Row | Pick the first row, in this case “A01” |
| Tree species | Pick the species of the most common tree type in the row. In our orchard this is Hazel. |
| Truffle species | Pick the species with which most trees within the orchard are inoculated. In our orchard this is ‘Tuber melanosporum‘ |
| Date planted | Date the tree was planted. In this example, the tree was planted on ’26 August 2015‘ |
Set that tree as a template
Once the tree properties have been set, we can mark the tree as a template to use when placing more trees. From the tree details view:
-
- Tap on the ‘Template’ button
- Select ‘Set as template’
- Press ‘Done’ to return top the Add Trees view

Add the remaining trees for the row
To place the remaining trees for the row, from the ‘Add Trees’ view:
-
- Press on the map to place the next tree
- Adjust the tree’s position
- Repeat for the remaining trees until the end of the row
Trees will be given a name using the template tree’s name as a guide. For our example, this will be the next unique number with a format matching the template tree. The trees will be named “A01.0002”, “A01.0003”, etc.
The trees’ row, species, planting date and truffle types will match the first ‘template’ tree.
Modify any trees that do not conform to the template
Once all trees have been placed for the first row, it is a good idea to go back and modify any trees that do not conform to the template. In our example orchard, a third of the trees are English Oaks. We need to select each of those trees and modify their species value:
-
- Tap on the tree’s marker to see the info-window
- Select the details button on the info-window
- Review and update the tree’s properties
- Once all trees in the row are correctly defined, it is a good idea to save your changes
Move to the next row and repeat
Once all trees have been placed for the first row, begin again with the first tree in the second row. From the ‘Add Trees’ view of the orchard:
-
- Press on the map to place the first tree in the next row
- Adjust the tree’s position
- Review the tree’s properties, especially the row number and name
- Set this tree as the new template
- Place the remaining trees in the new row
- Modify trees that do not conform to the template
For our example, trees in the second row will be given names “A02.0001”, “A02.0002”, etc.
Summary
Following these steps, we have now:
-
- created a record for the Truffle Orchard
- defined the list of tree rows within the orchard
- positioned and described each tree within the rows
To finish, make sure the edits are are saved, and we should be able to see all the trees in the Orchard Detail view.